
Introduction:
False lashes have the incredible ability to instantly elevate your makeup look, adding drama, volume, and flair to your lashes. However, applying false lashes can be intimidating for beginners. Fear not! In this comprehensive guide, we'll walk you through the step-by-step process of applying false lashes like a pro. Get ready to unlock the secret to flawless and fabulous lashes!
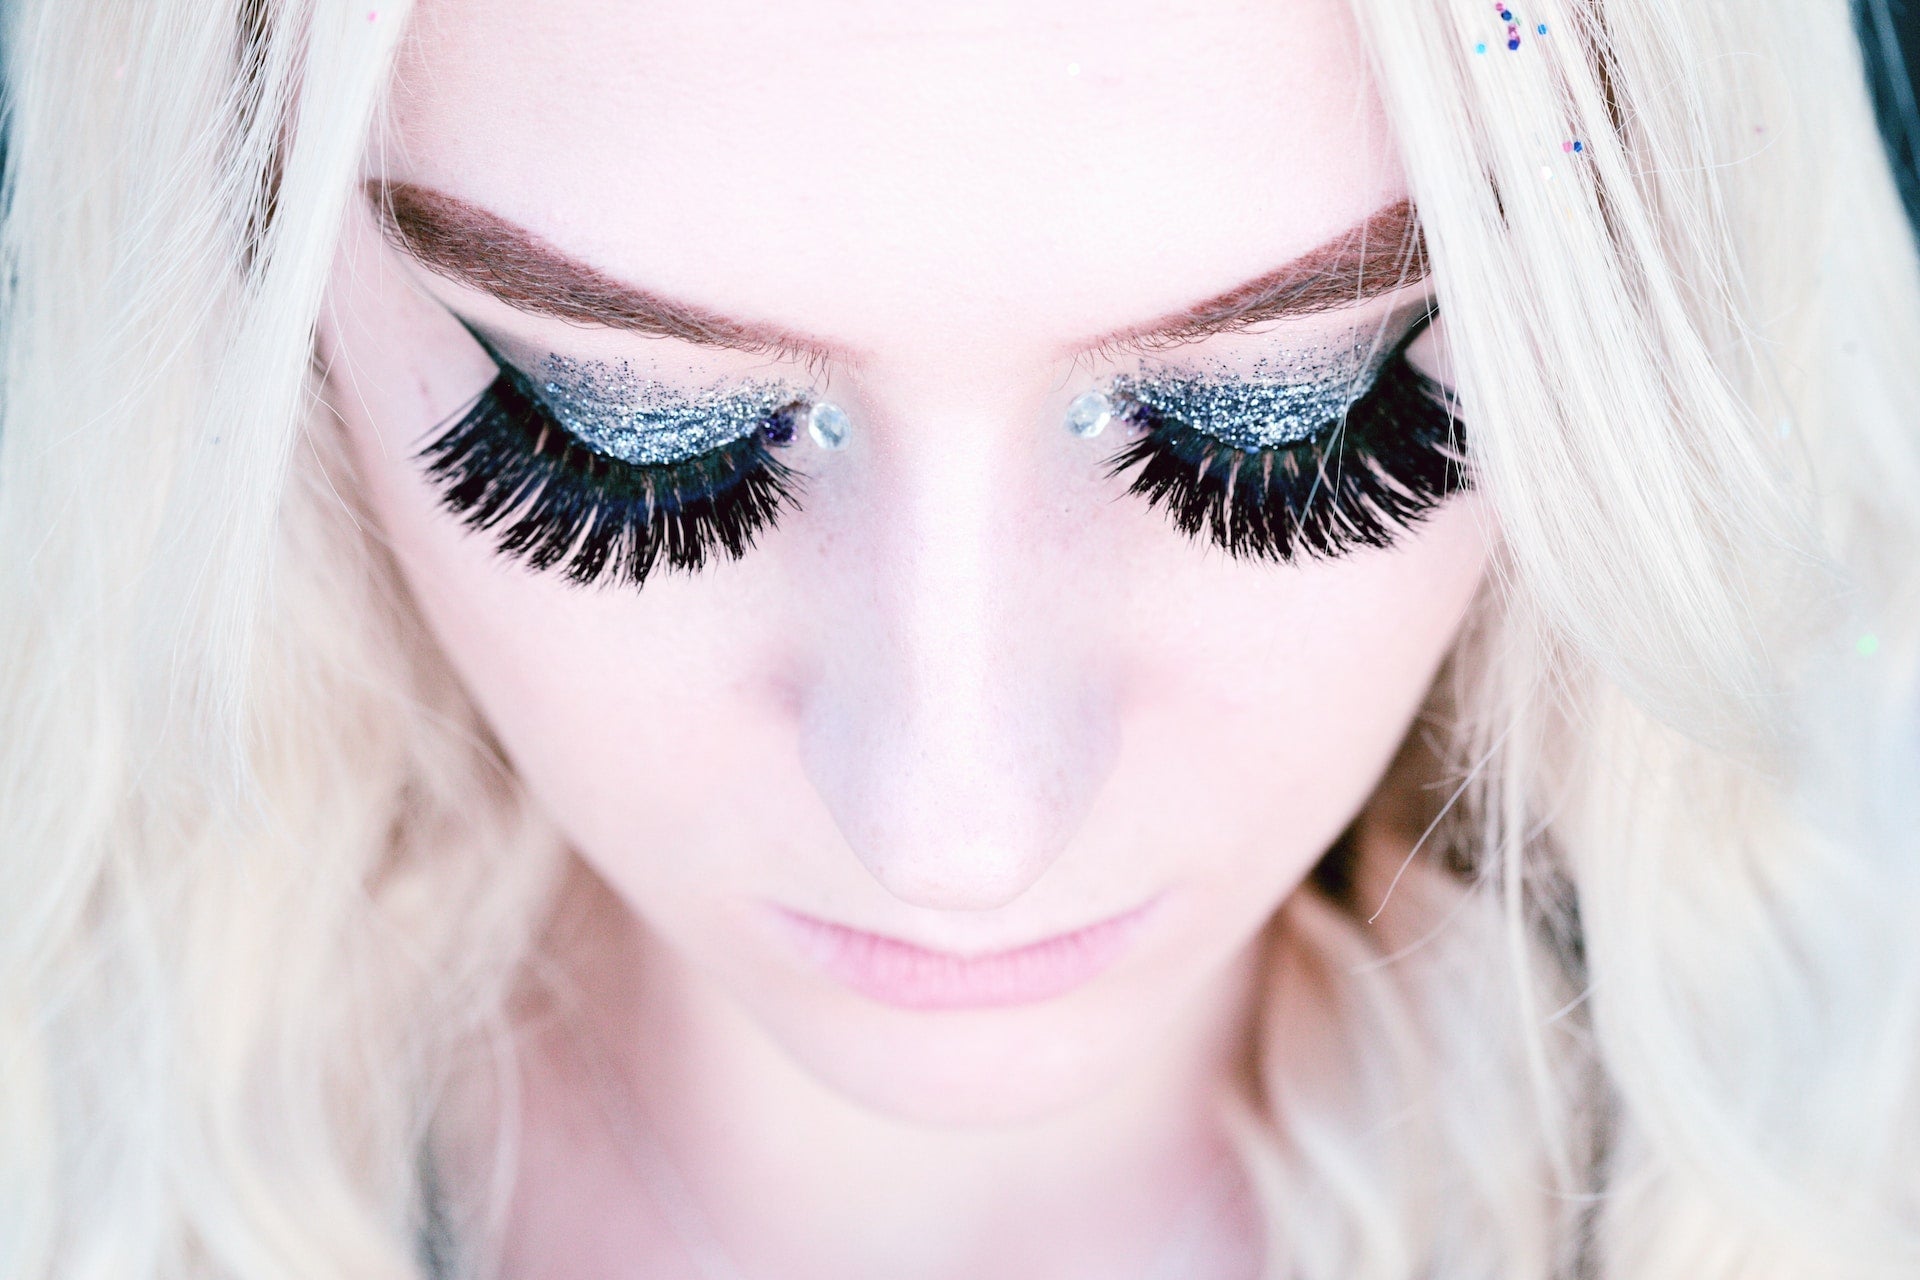
1. Choosing the Perfect False Lashes:
Before diving into the application process, it's crucial to choose the right pair of false lashes that suit your desired look. Consider the following factors:
- Length and volume: Decide whether you want a natural, wispy effect or a dramatic, voluminous look.
- Lash band: Opt for a lash band that is comfortable and flexible, as it will make the application process easier.
- Lash material: False lashes come in various materials such as synthetic, silk, or mink. Select the material that aligns with your preferences and values.
- Lash shape: Consider the shape of your eyes and choose lashes that complement your eye shape. Some lashes are designed to elongate, while others focus on adding fullness or lifting the outer corners.
2. Prepping Your Natural Lashes:
To ensure a seamless application, it's important to prep your natural lashes properly. Follow these steps:
- Curl your lashes: Use an eyelash curler to curl your natural lashes, creating a uniform and lifted base for the false lashes.
- Apply mascara (optional): Apply a coat of mascara to your natural lashes to provide them with a bit of extra length and volume. This step is optional but can help blend the false lashes with your natural lashes.
3. Trimming and Adjusting the Lashes:
In most cases, false lashes are longer than the width of the average eye. To achieve a comfortable and natural fit, follow these steps:
- Measure and trim: Place the false lash along your lash line and measure its length. Trim any excess from the outer corner to match the width of your eye.
- Bend the lash band: Gently bend the lash band in a semi-circular shape to make it more flexible and fit the curve of your eye.
4. Applying Lash Glue:
Proper application of lash glue is key to a secure and long-lasting hold. Here's how to do it:
- Use high-quality lash glue: Invest in a reliable lash glue that dries clear and is suitable for your sensitivity and preference.
- Apply a thin layer of glue: Apply a thin, even layer of lash glue along the entire lash band. Pay extra attention to the inner and outer corners, as they tend to lift more easily.
- Wait for the glue to become tacky: Allow the glue to dry for a few seconds until it becomes slightly tacky. This step is essential for easy and precise placement.
5. Placing and Blending the Lashes:
Now it's time to apply the false lashes with precision and finesse:
- Using tweezers or your fingers, position the false lash strip as close to your natural lash line as possible, starting from the center of your eyelid.
- Secure the inner and outer corners: Gently press the inner and outer corners of the lash band to ensure they adhere securely.
- Blending with your natural lashes: To create a seamless look, use a clean mascara wand or tweezers to press the false lashes and your natural lashes together. This step helps eliminate any visible gaps and creates a cohesive lash line.
And there you have it! Beautiful lashes ready to make a statement.